By MAZ Outdoor · Published October 4, 2026
A logo approved on a white screen can look very different on a textured tote, a dark backpack panel or a curved pocket. Thin lettering may become hard to read, a seam may interrupt the artwork, or a decorative finish may change the feel of the fabric. Choosing custom bag logo methods therefore starts with the bag construction and the artwork together.
Choose a method that can reproduce the important parts of your design on the selected fabric at the intended size. Approve the placement drawing, then a physical decoration sample, and finally the logo on the assembled bag. A digital mockup establishes direction; the physical samples establish what you are actually ordering.
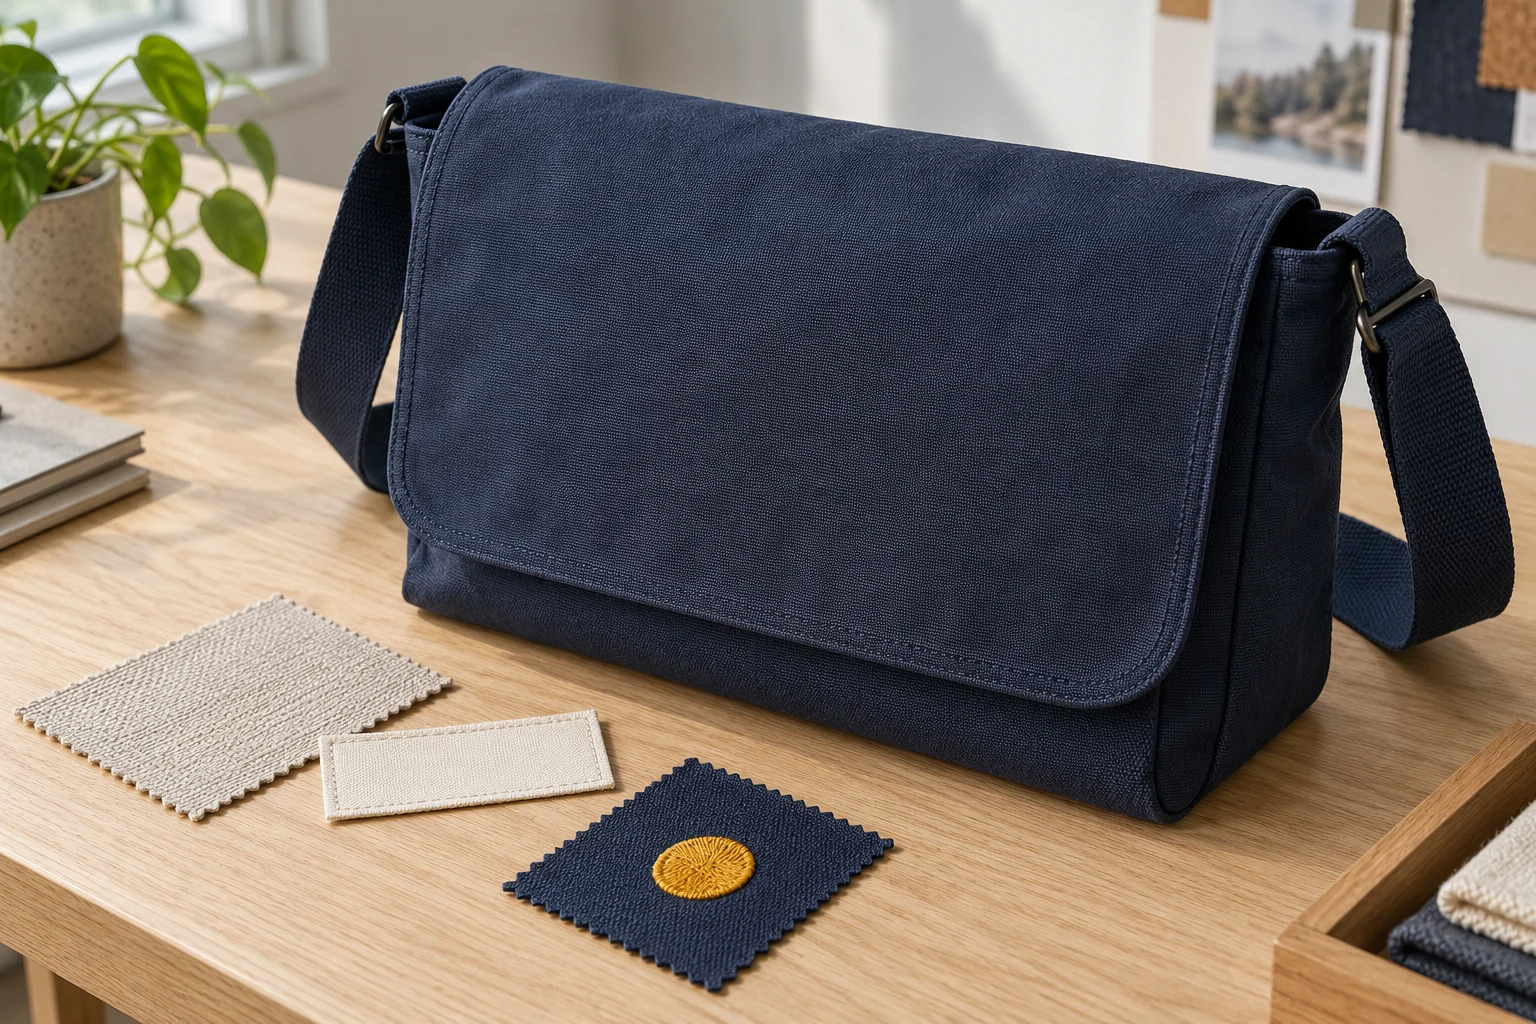
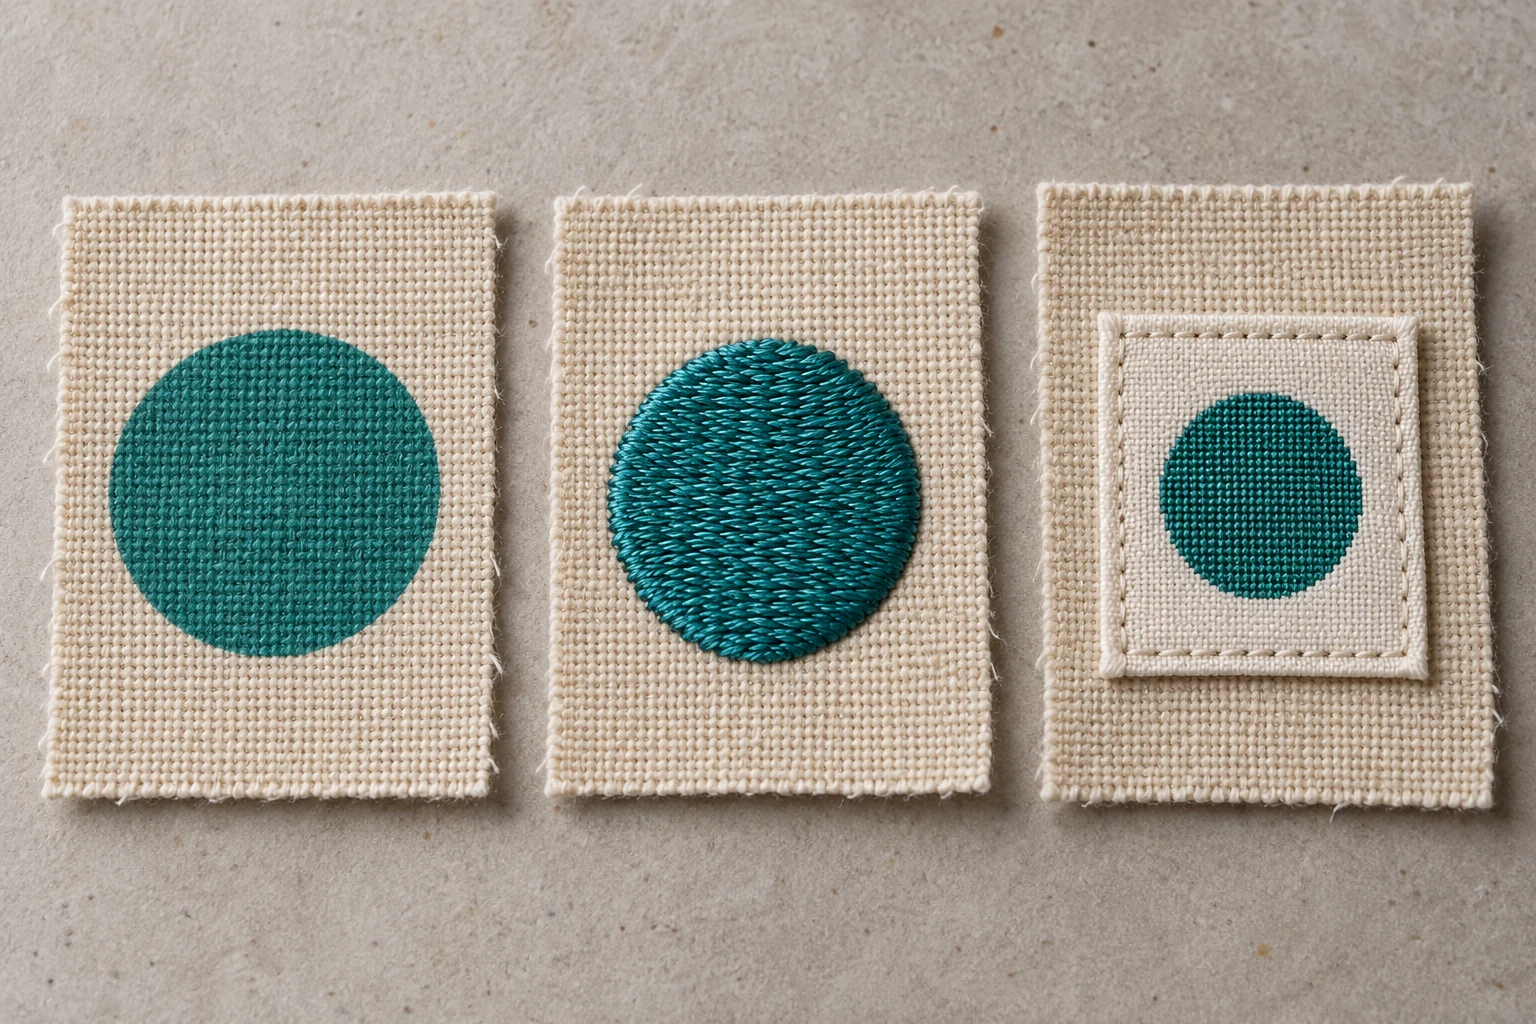
This guide compares direct screen printing, heat-applied transfers, embroidery and woven labels. The images are AI-generated illustrations of generic bags and decoration samples, not photographs of tested MAZ Outdoor products.
Start with the fabric and decoration area
Identify the exact panel that will carry the logo. Is it a broad flat tote body, a padded backpack pocket, a flap, or a narrow strap? Mark seams, zippers, folds and attachment points around that area. Ask whether decoration will happen on a flat panel before assembly or on the completed bag. Access to the surface can change which process is practical.
Supply the actual shell material, color and finish. “Nylon” or “canvas” alone does not fully identify the substrate. Coatings, surface treatments, texture and thickness also belong in the discussion. Review the bag fabric specification alongside the branding brief so the supplier can assess the combination rather than two separate choices.
Then identify the design elements that must survive reproduction: the smallest lettering, narrow gaps, fine outlines, gradients and exact brand colors. If a small slogan is essential, do not approve a sample containing only the larger symbol. The difficult detail needs to appear in the approval sample.
How do the main custom bag logo methods compare?
| Method | Consider it when | Confirm before approval |
|---|---|---|
| Direct screen printing Ink is printed directly onto the bag material | A flat printed appearance and a clearly defined artwork version suit the project | Ink and fabric compatibility, opacity, detail, curing route and placement access |
| Heat-applied transfer A prepared design is applied with heat and pressure | A suitable transfer system can reproduce the artwork on the chosen substrate | Exact transfer type, heat compatibility, adhesion, edge appearance and surface feel |
| Embroidery Stitches form the design in the fabric | Visible thread texture is part of the intended look | Digitized artwork, lettering clarity, backing, puckering and the reverse side |
| Woven label or patch A separate woven component is attached to the bag | A distinct trim component fits the branding and construction | Weaving proof, finished size, edge treatment, attachment and visible design area |
This is a shortlist, not a durability or price ranking. Two bags carrying the same artwork can need different decoration systems. The final choice should reflect the approved sample, intended use and quotation scope. MAZ Outdoor’s private label and logo customization page provides a starting point for discussing the available options for your project.
Direct screen printing: define the complete print job
State the artwork dimensions, number of placements, color references and exact bag color. Ask the supplier to describe the proposed ink system and any preparation or curing requirements for that material. Check whether an underbase or other treatment changes the finished appearance, quotation or sample process.
Review coverage on the actual weave, the cleanliness of edges and whether dark fabric affects the intended color. Inspect the area near seams and folds. A flat panel proof is useful, but it should not replace checking the print on the completed bag in its normal shape.
Heat transfers: the product name matters
“Heat transfer” describes a family of approaches, not one universal material recipe. Heat-transfer vinyl, digitally printed transfers and screen-printed transfers can involve different systems. A screen-printed transfer is also different from printing ink directly onto the bag.
Transfer Express’s transfer selection guide separates choices by artwork colors, fabric, quantity and size, and lists different application instructions for individual products. Use that as a reason to request the exact proposed transfer system. Do not carry an apparel product’s temperature or pressure setting into a bag specification without confirming the material and construction.
Ask for a compatibility sample if the bag has a coating or heat-sensitive layers. Review adhesion, unwanted marks around the applied design and how the decorated area feels when the panel bends. If dye migration or another appearance problem is a concern, ask how the proposed system addresses it and what evidence will support approval.
Embroidery: approve the stitch interpretation
Embroidery converts artwork into stitches, so the supplier needs an approved digitized interpretation at the final size. Examine small letters, gaps between elements and the edges of filled areas. Agree any simplified detail before it becomes the production version.
Madeira’s stabiliser guidance explains that backing helps hold fabric during embroidery and should suit the fabric and design. For a bag, also check how the backing and thread ends are finished on the reverse side, and whether lining or assembly will cover them. Review distortion around the stitched area rather than assuming every dense design suits every panel.
Woven labels: include the attachment in the decision
A woven label is a separate component whose design is formed with threads. Dutch Label Shop’s explanation of woven and printed labels distinguishes this from artwork printed onto a label surface. Review a weaving proof instead of treating a flat digital image as the finished texture.
Specify the finished dimensions, folds or edge finish, and attachment method. Identify which part of the design remains visible after sewing. A label can look correct on its own but lose important lettering under a seam or sit unevenly on a padded pocket. Inspect its corners, attachment stitches and relationship to nearby hardware on the assembled bag.
What should the artwork and placement brief contain?
Send the editable artwork format requested by the supplier, together with a viewing PDF or image that clearly shows the intended result. Identify the approved file revision. Outline fonts where appropriate and include the original text for checking spelling. Ask the supplier to flag details that cannot be reproduced reliably before making adjustments.
Show the decoration width and height, orientation and position on a drawing. Measure from stable construction references, such as the panel centerline or a specified seam, rather than an ambiguous outer edge in a photograph. Agree a placement tolerance suited to that construction; there is no single tolerance that fits every bag and process.
Use physical color references when color is critical, and identify which reference applies to ink, transfer material, thread or label yarn. Review these against the actual bag color under agreed lighting. A monitor image or a shared color name cannot settle every difference in material, texture and finish.
Approve texture and placement in three stages
First, approve the artwork and layout. Check text, proportions, dimensions, location and any agreed simplification. Keep the approved file and placement drawing together.
Second, approve a physical decoration sample. Use the specified fabric and color, with the proposed process. Compare detail, opacity or thread texture, edge finish and surface feel. Keep the sample traceable to the materials and settings used.
Third, approve the assembled bag. Check how the design reads when the bag is filled, carried or folded as intended. Confirm that handles, straps, seams and pocket openings do not hide it. Examine the reverse side where accessible and compare the final placement with the agreed drawing.
Use the sample development stage to resolve these questions. Record the approved sample revision and any conditions. A change to fabric, coating, logo size or decoration system may require another review before bulk production.
What evidence should support durability claims?
Describe the use conditions that matter: contact with clothing, routine handling, repeated folding or the intended cleaning method. Ask the supplier what checks are appropriate, then agree the method, sample configuration and acceptance criteria. Informal rubbing or bending can identify concerns, but it is not a substitute for a specified test report when documented performance is required.
Separate appearance approval from performance evidence. Photographs can record alignment and visible defects; they cannot establish adhesion life, abrasion resistance or wash performance. If the bag has a special water-protection claim, ask whether decoration or attachment affects the relevant construction and what needs to be assessed afterward.
Questions buyers ask before ordering
Which logo method is cheapest?
Compare quotations for the same artwork size, placements, fabric, quantities and sample scope. Request separate setup or digitizing charges and any costs for color matching or revisions. A price comparison is useful only when the finished results and approval requirements are comparable.
Can one logo file be used unchanged for every method?
It can be the starting artwork, but each process may need a production interpretation. Approve any changes to line weight, lettering or color before accepting a stitch file, transfer proof or woven-label sample.
Is a digital mockup enough to approve production?
Use it to approve direction and placement. Require a physical sample for the material, process and finished construction you are ordering, especially when fine detail or exact color is important.
Send a brief that makes quotations comparable
For custom bag logo methods, provide the bag drawing, fabric and finish, approved artwork, decoration dimensions, placements, quantities and intended use. Add the physical references and sample checks needed for approval. The custom bag quote checklist covers the wider project information that belongs with this branding brief.
Send MAZ Outdoor your project brief and identify any details that are essential to your brand. If the method is undecided, ask for suitable options using the same design and fabric so you can compare physical results before committing to bulk production.